The first step: test whether the water leaks Place the bathtub before the first water accessories, do water for 24 hours to see if the bathtub is leaking, pay special attention to the overflow. It's very difficult to close the water in 24 hours. Outside the bathroom, pour two buckets of water and try a good bathtub to get water. This is convenient. At the time of actual installation, the bathtub was directly lifted into the bathroom and placed in the water. Since the width of the bathtub was just the same as the width of the bathtub when the water was changed, the size of the bathtub and the mixing of water was not correct. Note that the center point of the bathtub should be facing the center of the mixing water, otherwise it will be very difficult to see if the mixing faucet is installed in the future. After the bathtub is lifted into the bathroom, it starts to put on and off the water fittings, fills the bathtub with water, and turns off the water to check for leaks. When the water flows over the overflow, the water in the bathtub flows out of the overflow. At this time, I Just squat on the floor, reach under the bathtub, touch the back of the overflow, and see if any water leaks out of it. After the overflow test is passed, the next step is to check the sealing of the sewage and observe the tightness of the sewage. When placing the bathtub, take care that the other end of the water outlet is slightly higher than the end of the drain so that the sewage will not be discharged in the future. This depends on the circumstances. The bathtub was originally Xiao Gong's suggestion. Observe that the bottom of the bathtub had a slope for draining water, level the bathtub on the four sides, and put a water test. As expected, the water quickly drained. The bathtub maintains a visually beautiful appearance without affecting the drainage effect. Step 3: Sand Filling Although the cast-iron bathtub is strong, its thermal conductivity is very fast. It should be used in Zhonghesha and it should be firmly laid on the bottom of the bathtub. Bricklayers also recommend the use of foam. Considering that foam is not as mobile as sand, it is ideal to fill all the gaps. In the process of filling sand, how to make sand not leak into the sewage pipe is a problem to be solved. After all the placement work was completed, the water release test was performed again (this step was mainly to ensure that the backside of the bathtub did not leak water). After confirming it was correct, it waited for the bricklayer to lay the skirt. Step 4: Leave the access port A 300mm wide 400mm hole is left at the water outlet, and one hole is cut to size. The board is made of water-repellent and anticorrosive wood (thickness 40mm) according to the size. The number of bricks and the number of rows arranged on the board are 903. The glue sticks the brick to the board. Spread the sealant on the edge of the tile and insert it on the box This is to facilitate the overhaul of the bathtub drainage system in the future. In the bathtub skirt, for aesthetic considerations, all set aside 600 heights, give up other materials such as mosaics, bath skirts and the same brick under the wall brick, so to do, under the wall tiles, floor tiles, bath skirts are all One color, one material, very beautiful. Step 5: Tiling Bathtub skirt tiles do not need to scratch the hair, build a red brick table, a layer of cement mortar on the surface, and then wait two days and then tiling can, tiling is very troublesome, due to the slope of the ground to stay, and the bathtub It's flat, so every big brick must be polished to different sizes. It's not possible to polish a lot at a time, it's easy to grind, and it's repeated. The top of the brick is to be inserted under the round edge of the bathtub so that it does not form an angle. Tips: More practical decoration knowledge, real scene with the shoot, please pay attention to the palm of this site (micro signal: mall_jia). Bathroom Toilet Decoration Bathtub Glow In The Dark Pebbles,Glow In The Dark Rocks,Glow In The Dark Roads,Photoluminescent Gravel JINAN REALGLOW CO.,LTD , https://www.realglowsign.com

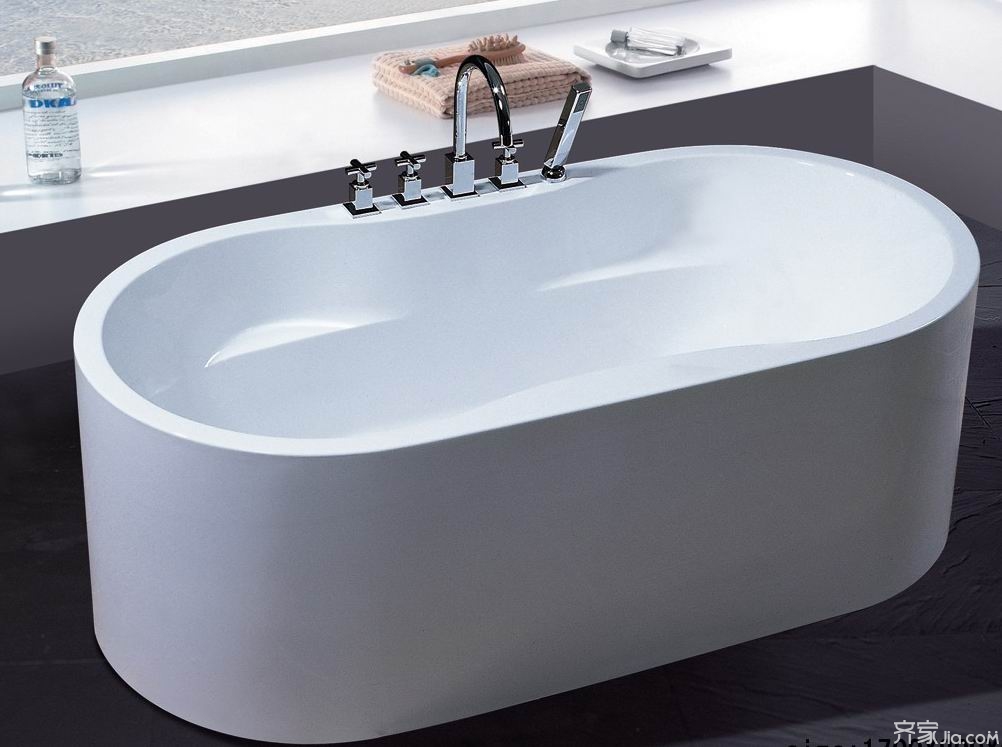

As a large part of the bathroom, more and more families have begun to purchase bathtubs. If you pay attention to the bathtub during the installation process, you will have a lot of trouble. Therefore, you must pay special attention to the installation. Then how to install the bathtub? ? What issues need attention?